How to Beautify Your Alert Messages
Objective: To replace the default JavaScript alert message with a more attractive alternative.
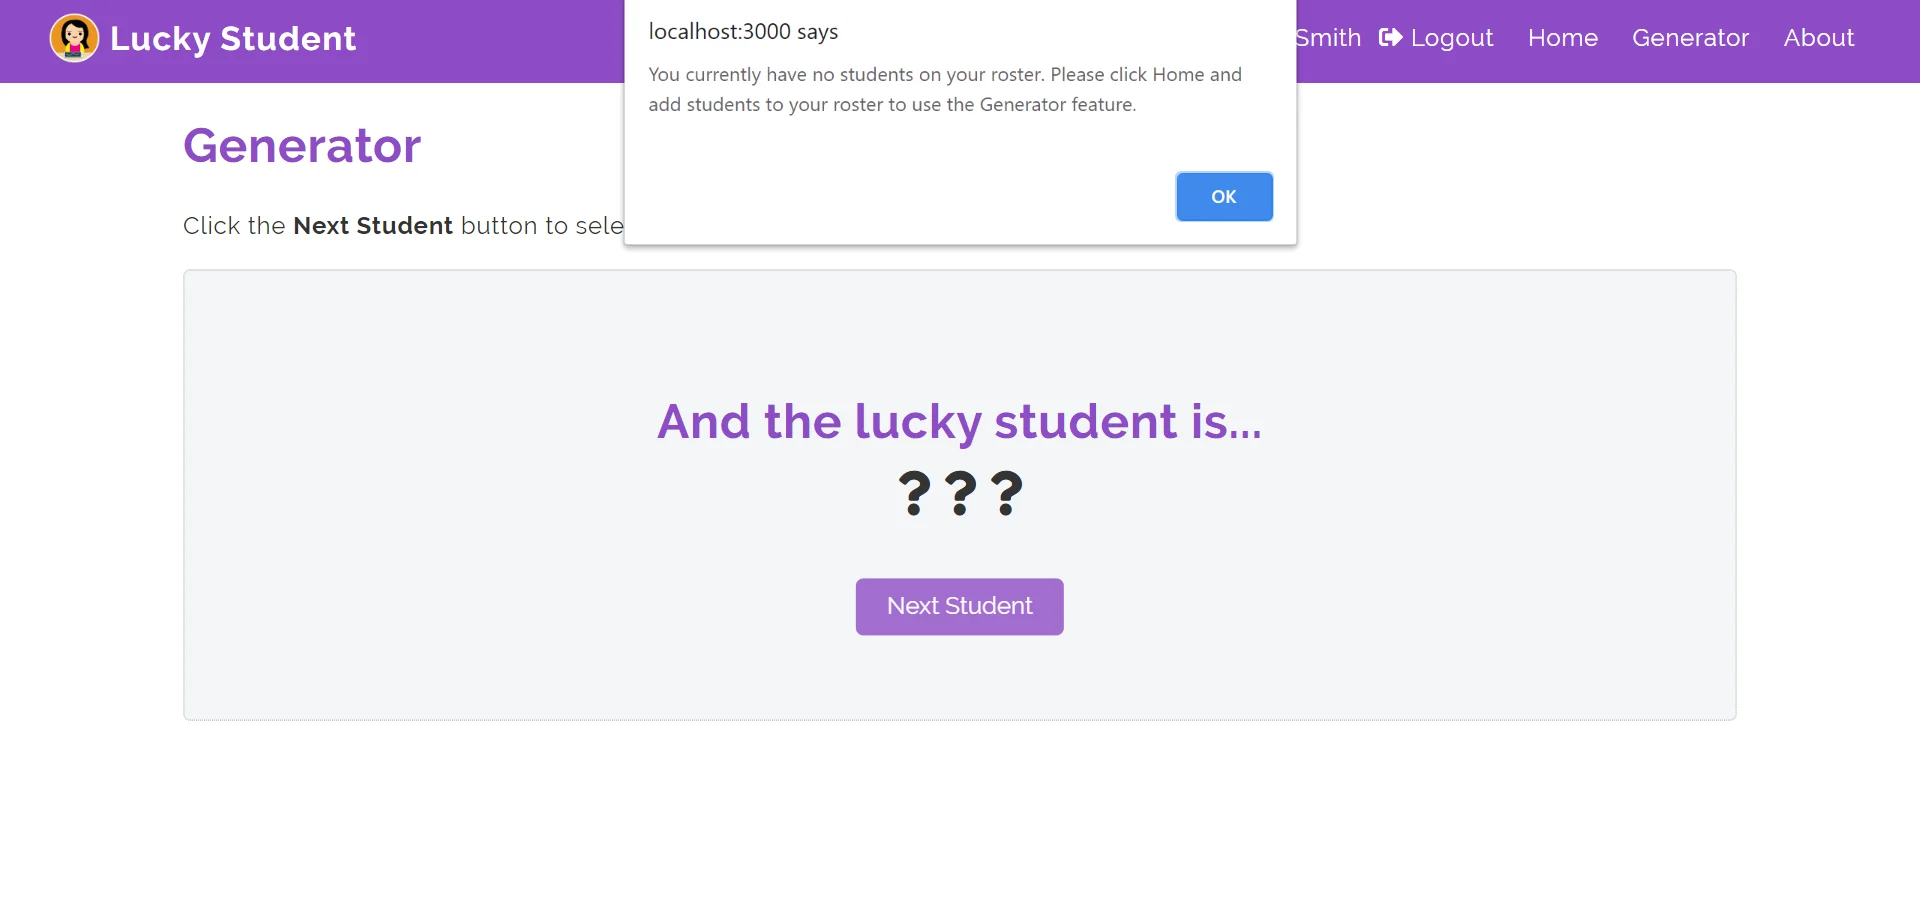
In this article, we're going to replace the default JavaScript alert message with a message that looks more attractive. The default alert message looks like this:

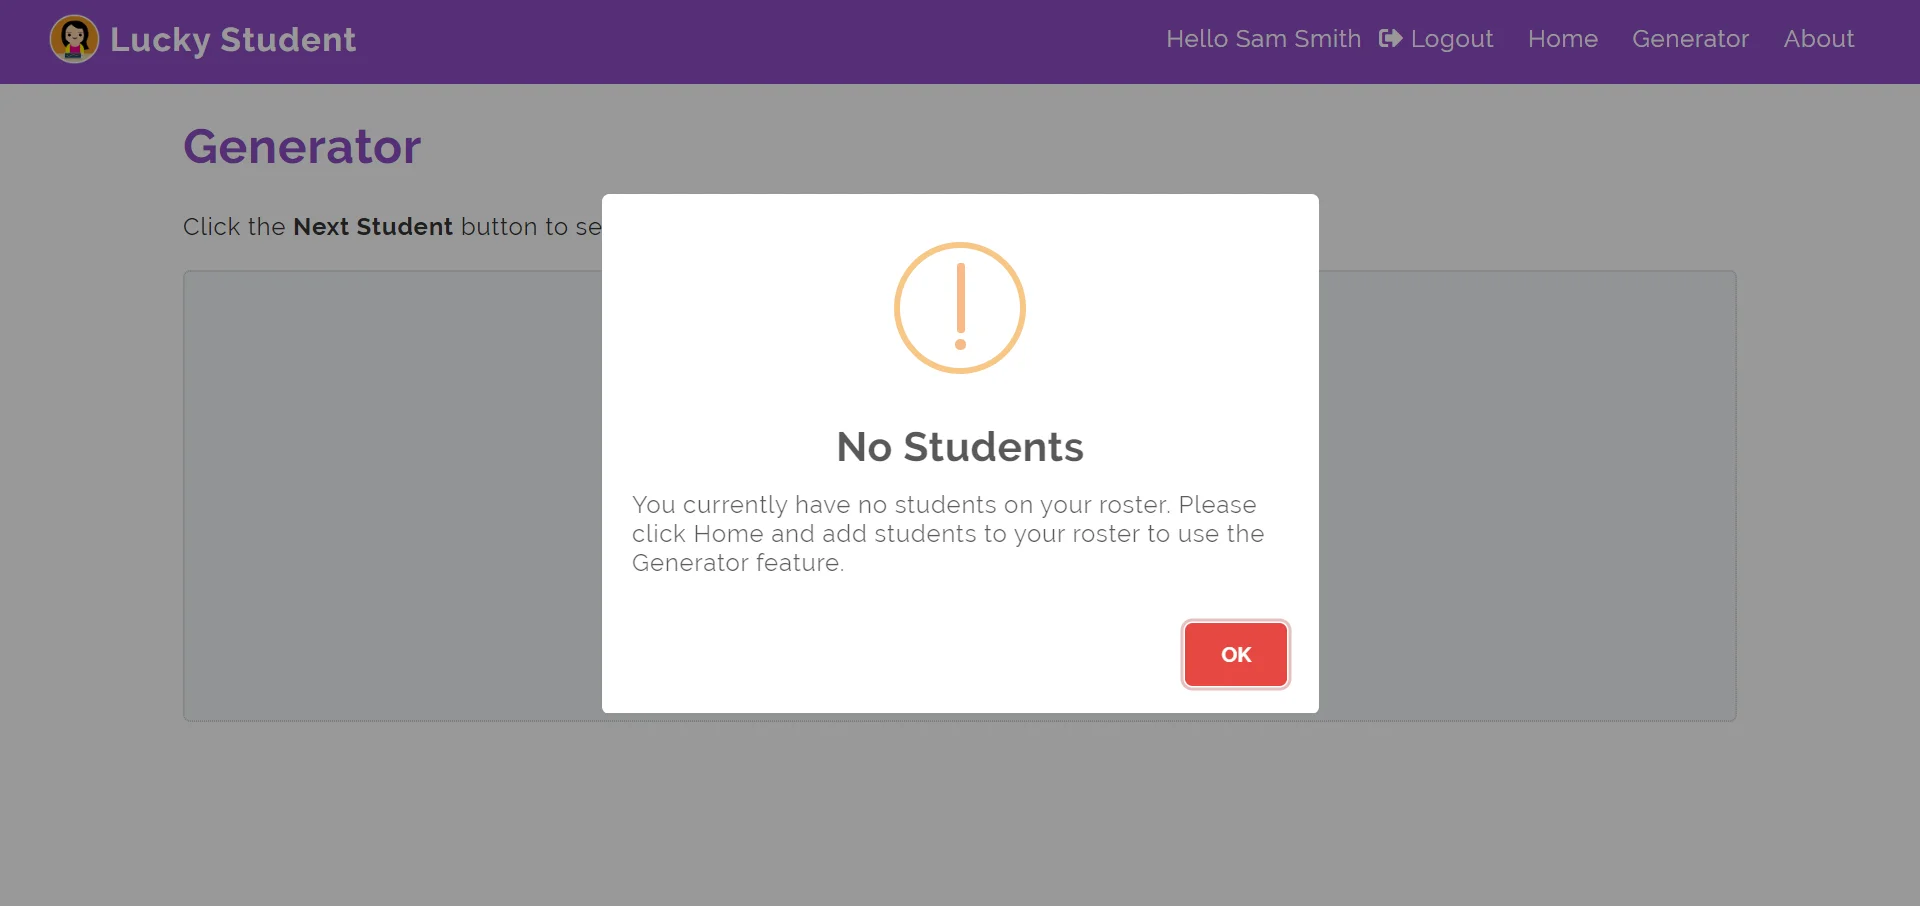
Our goal here is to replace it with a message that looks like this:

To do this, we're going to use a package called SweetAlert.
1. The first thing we need to do is to install it. So, in the terminal, run npm install --save sweetalert.
npm install --save sweetalertYou can verify that it has been installed by checking in the dependencies in your package.json file (line 6).
"dependencies": {
  "bootstrap": "^4.4.1",
  "react": "^16.13.1",
  "react-dom": "^16.13.1",
  "react-router-dom": "^5.1.2",
  "sweetalert": "^2.1.2",
},
2. The next thing we need to do is to import it into our application, wherever we want to use it. In this example, I'm using SweetAlert in one of my React components (line 2).
import React, { useContext } from 'react';
import swal from 'sweetalert';
import PropTypes from 'prop-types';
3. All we need to do now is to add the SweetAlert message to our code. In order to do this, we simply call the swal function (make sure it's called after the DOM has loaded). A basic example would look like this:

So, all we do here is call the swal function, and then add in our message. In this case, our message is, "Hello World!"
swal("Hello world!");We can also pass in other arguments in order to further customize our message. In this example, taken from the introductory SweetAlert example from above, we again start by calling the swal function (line 1). The first argument passed in is for the title of the message, "No Students" (line 2). The second argument passed in is for the text of the message, "You currently have no students on your roster. Please click Home and add students to your roster to use the Generator feature" (lines 3-5). The third argument is for the icon of the alert, "warning" (line 6), of which there are four predefined ones: "warning", "error", "success", and "info". And by setting dangerMode to "true" (line 7), the focus will automatically be set on the cancel button instead of the confirm button, and the confirm button will be red instead of blue to emphasize the dangerous action. For more details on getting started and customization, check out the SweetAlert guides here.
swal({
  title: 'No Students',
  text:
    'You currently have no students on your roster. Please click Home and
    add students to your roster to use the Generator feature.',
  icon: 'warning',
  dangerMode: true,
});
So, this is what our SweetAlert message looks like. And that's it. We now have a more attractive looking alert message.

 CoderGuides


