Adding Open Graph Meta Tags to Your App or Website
Objective: To add Open Graph meta tags to your web application to control what is displayed when shared on social media.
Have you ever wondered how to control the content that is displayed when you post a link to your app or website on social media, like Facebook? Or for that matter, how to even display any content?
You may have shared a link to your web application on social media before, only to have it look like this:

This is where Open Graph meta tags come in. As described here, Open Graph meta tags are "part of Facebook’s Open Graph protocol and are also used by other social media sites, including LinkedIn and Twitter."
The goal here then, is to have it look something like this when sharing a link to your app or website on social media:
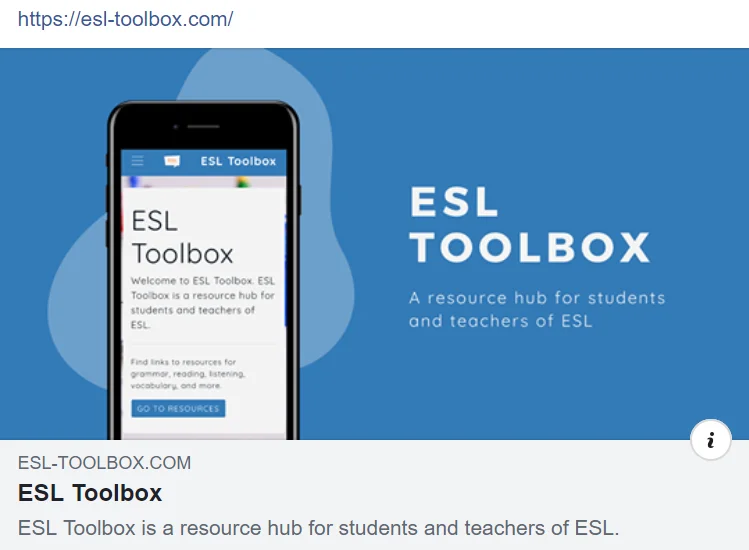
There are a number of Open Graph meta tags that provide different information. I will go through what I use and how I do it, so that you will be able to do the same.
What To Do
1. The first thing to do is to add the Open Graph tags to your code. These are added up above in the <head> of each page that you want this information in. In the example below, the Open Graph tags are in lines 13-21. This is where you add the information that will appear when you share your link. There are particular ones that I usually change, for example, line 13. This is where you choose the image that you want displayed (see the example in the previous image). Make sure to use the correct file path for your image here. I find that the dimensions that work best for my images are 1920 x 1080 pixels, although other dimensions may work better for your needs. I like to use Canva and create a custom template with a width of 1920 pixels and a height of 1080 pixels for my images. Again, you may use whatever works for you. This is what works for me, though.
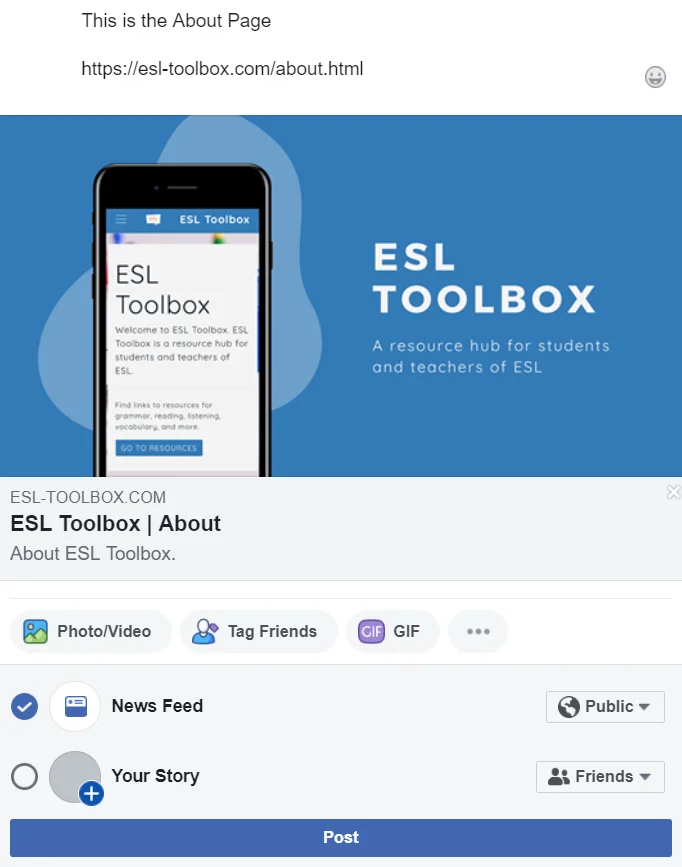
I also change line 18. This is where you put in the URL of the page. You can see the URL displayed in the example in the previous image. In our example here, we are adding these Open Graph tags to the index.html, file (the home page of this website), so the link that I put here is simply "https://esl-toolbox.com/". I usually like to add Open Graph tags to each page of my app or website, changing the information accordingly. For example, if this were the About Page, then the URL that I would add here would be "https://esl-toolbox.com/about.html".
The next Open Graph tag that I customize is the title in line 19. In the previous image, the title is displayed under the URL: "ESL Toolbox". On my About Page (so, in my about.html file), my title would be "ESL Toolbox | About". It's up to you and how you want to customize what is displayed.
Finally, I like to add a description (lines 20-21). In the previous image, you can see that the description reads, "ESL Toolbox is a resource hub for students and teachers of ESL." The description that I have on my About Page is simply, "About ESL Toolbox."
These are the Open Graph tags that I usually like to add. For more detailed information on Open Graph types and markup, go to this document here.
<!DOCTYPE html>
<html lang="en">

<head>
    <title>ESL Toolbox</title>
    <link rel="icon" href="assets/images/tools.png">
    <meta charset="utf-8">
    <meta name="viewport" content="width=device-width, initial-scale=1,
      shrink-to-fit=no">
    <meta http-equiv="X-UA-Compatible" content="ie=edge">
    <meta http-equiv="Content-Type" content="text/html; charset=ISO-8859-8">
    <!-- Open Graph Tags -->
    <meta property="og:image" content="assets/images/preview-image.png">
    <meta property="og:image:type" content="image/png">
    <meta property="og:image:width" content="1024">
    <meta property="og:image:height" content="1024">
    <meta property="og:type" content="article" />
    <meta property="og:url" content="https://esl-toolbox.com/" />
    <meta property="og:title" content="ESL Toolbox" />
    <meta property="og:description" content="ESL Toolbox is a resource hub
      for students and teachers of ESL." />
</head>

<body>
-- REST OF CODE --
2. Now that we've added the Open Graph tags to our code, the next thing we need to do is to scrape our page, so that the information for our page can be fetched, and so that we can preview how our content will look when it's shared on Facebook, Messenger and other places. This is done for each page that Open Graph tags are added to.
To do this, go to the Facebook Sharing Debugger tool here.
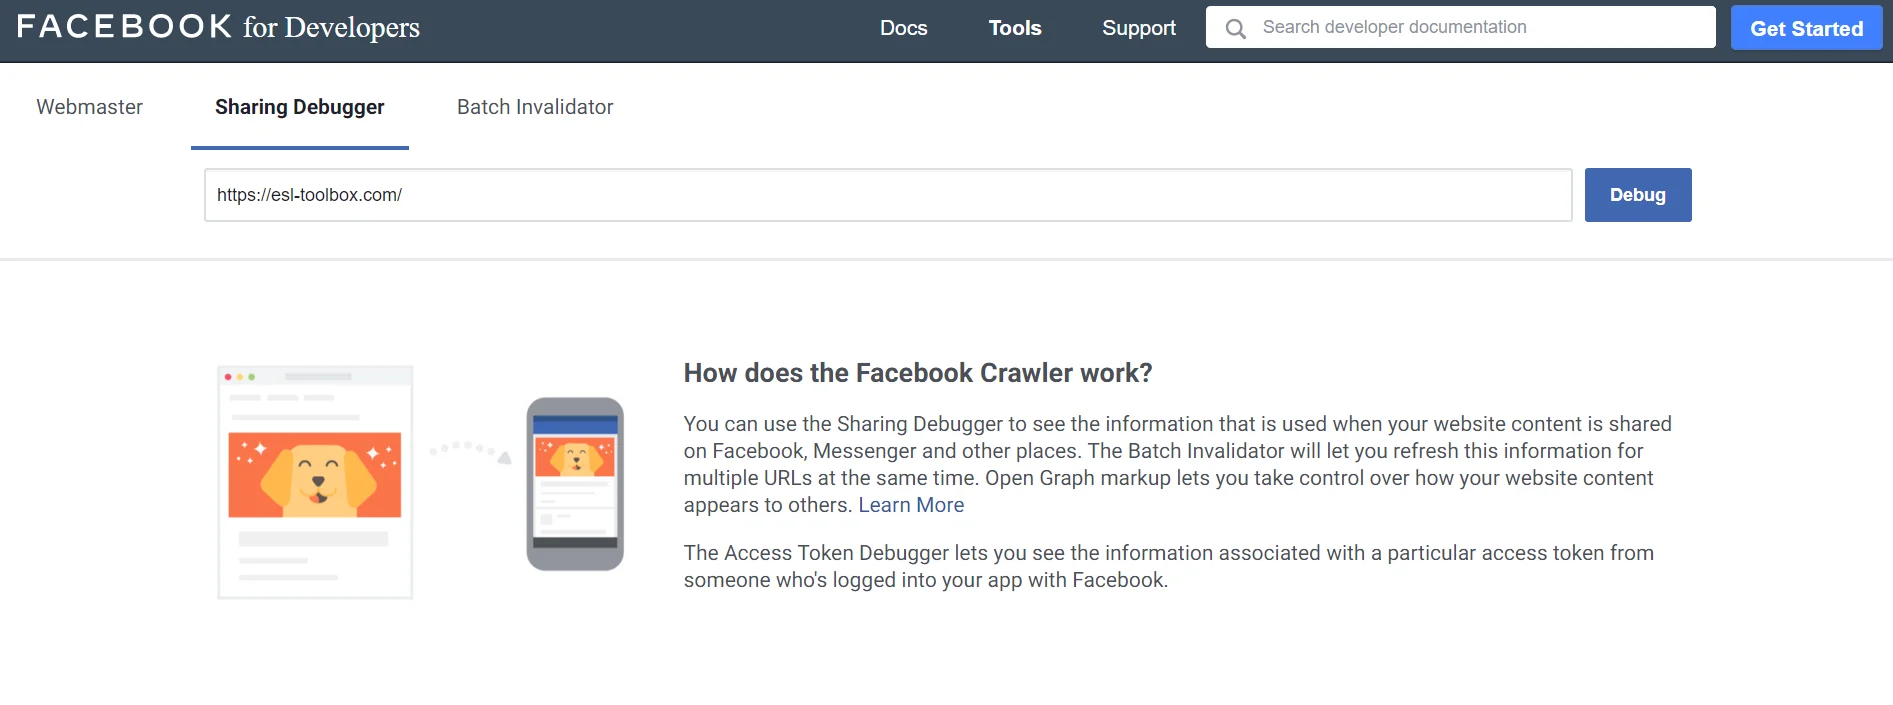
Type in the URL of the page and click on the Debug button. Following along with our example, our URL here is "https://esl-toolbox.com/". When you scrape a URL for the first time, you will get a message that says, "This URL hasn't been shared on Facebook before." Just click on the "Fetch new information" button.

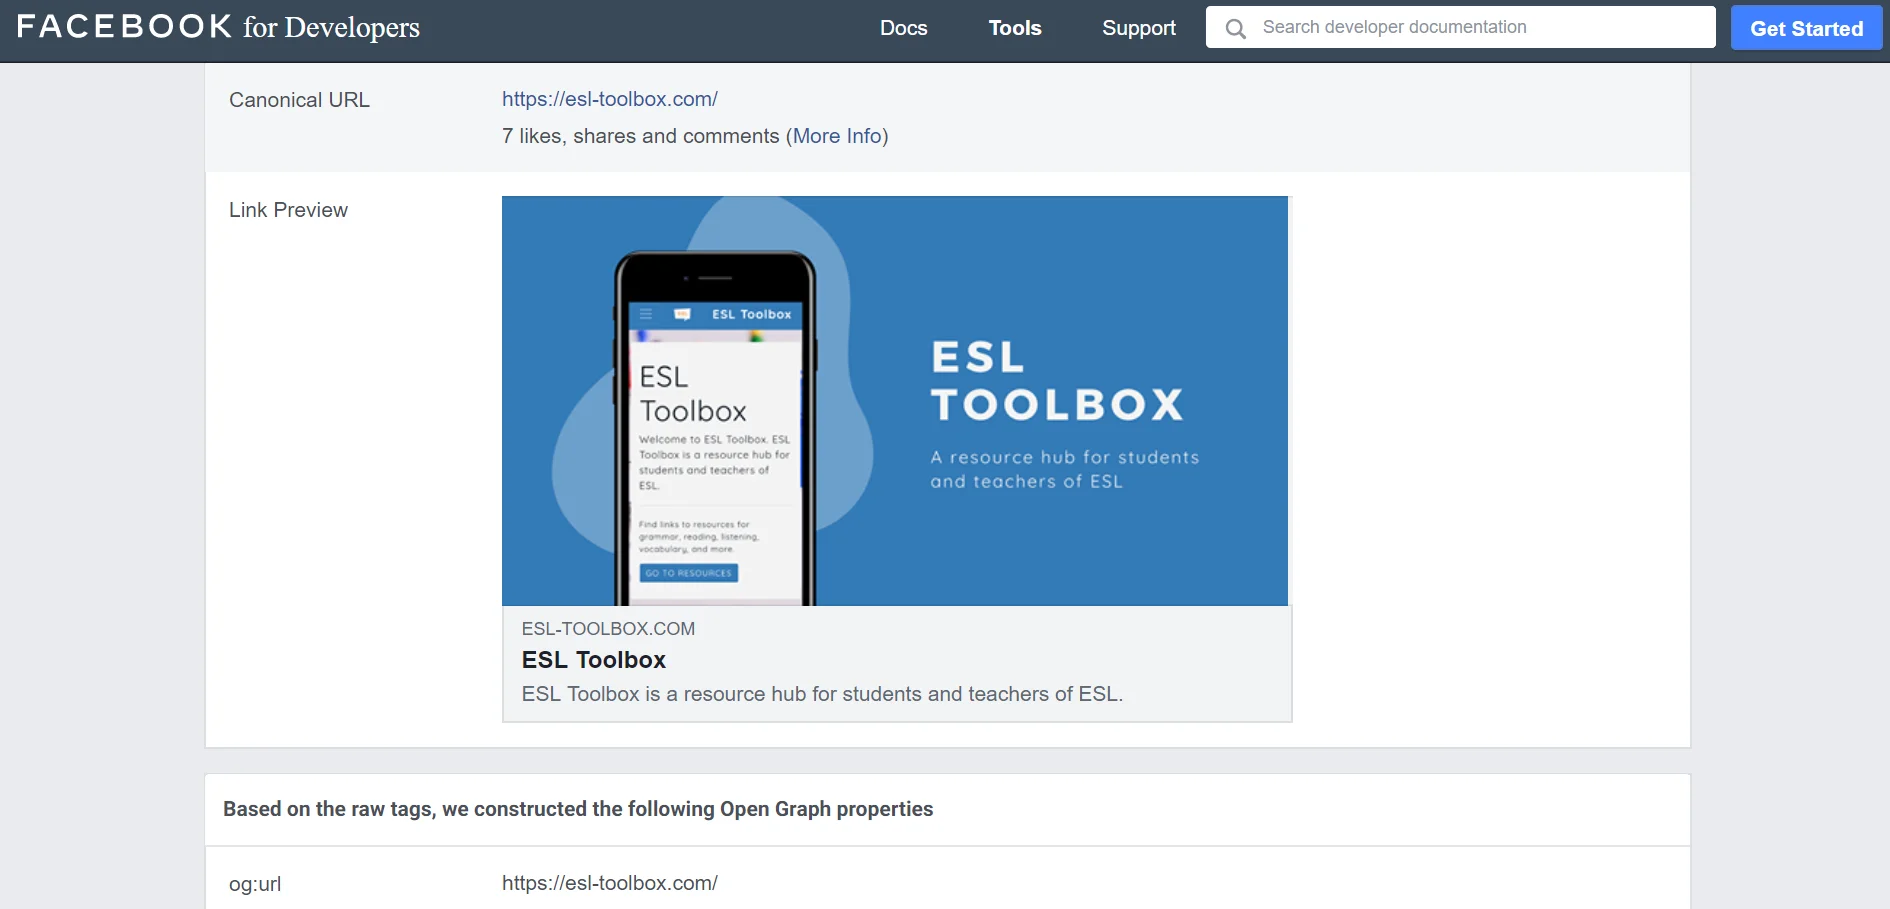
Next, you will be directed to this page. This page provides information on the scraped URL, any warnings, and a preview of the content that is displayed when you share the link.

Scroll down a little to see a preview. This is what it will look like when you share the link to this page. If this is the first time that this URL is being scraped, you might not see anything in the preview at first. If this is the case, just click on the "Scrape Again" again. It might take a couple minutes. Just keep clicking this button until you see your preview. Once you are able to see your Link Preview, as in this picture, you are done. Remember, that this has to be done for each page that Open Graph tags have been added to. So, once you are able to see your preview, you can move on to your other page(s) and do the same. So, if I also added Open Graph tags to my About Page, then I would go back to the Facebook Sharing Debugger tool link from above, and repeat the process.
And that's it. When we share our link, the information that we added will now be displayed.
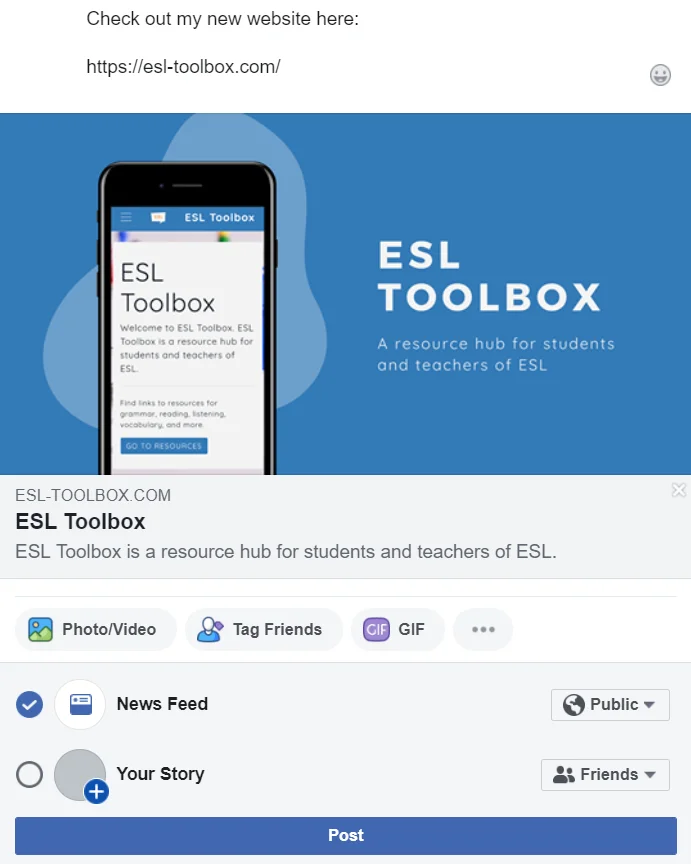
And this is what it looks like when we share the link to the About Page.
 CoderGuides


